Supplies needed for this project
|
Tools needed
|
|
Table Saw Flat bottom boring bit
Chop Saw Nail punch Wet Saw Palm sander Brad nail gun Sand paper Eye protection ¼ “ Drill bit Wood clamps Sponge brush Dremel Power tool |
|
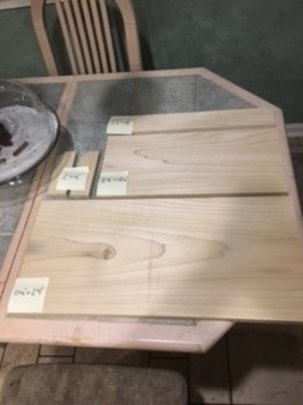
Step 1:Start by taking the 4 foot 1” x 12” Common Pine Board and cutting it on the table saw.
You will need to make a few pieces: The first piece will be a 11 ¼” x 24” With the leftover board, cut out a piece that's 8 ⅜“ x 18 ¼“ The third piece will be 2 ½“ x 18”. You should have enough wood left over to make two 6” x 2” pieces, trim a 45° cut from the tips of those pieces. |
|
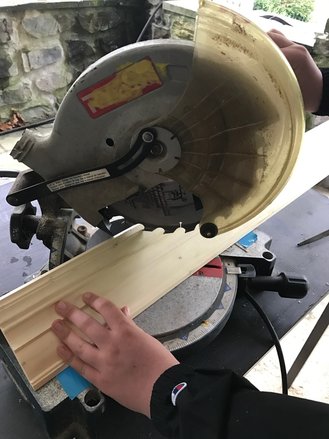
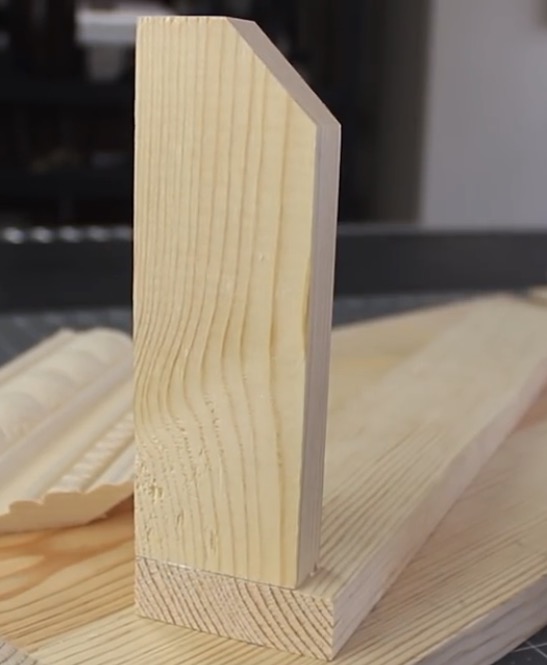
Step 2:Line the bottom of the crown molding up to the 8 ⅜ x 18 ¼ wide board and use a pen to mark where the bottom meets the front edge. This will help you lineup the 45 degree angle that the crown molding needs to be cut on. Rotate your table saw clockwise to a 45° angle and place the crown molding with the top facing down then carefully cut the molding so the blade goes through your marking. Now that you have your first 45 degree angle you will need the opposite 45 on the other end of the crown molding. Lineup your first 45 degree angle with the board and make your pen mark for the other side of the shelf, like you did before but this time use the other side of the board so you keep one side flat. Flip the saw around so it's facing 45° the other direction and now cut your second 45 on the front piece of crown molding.
|
|
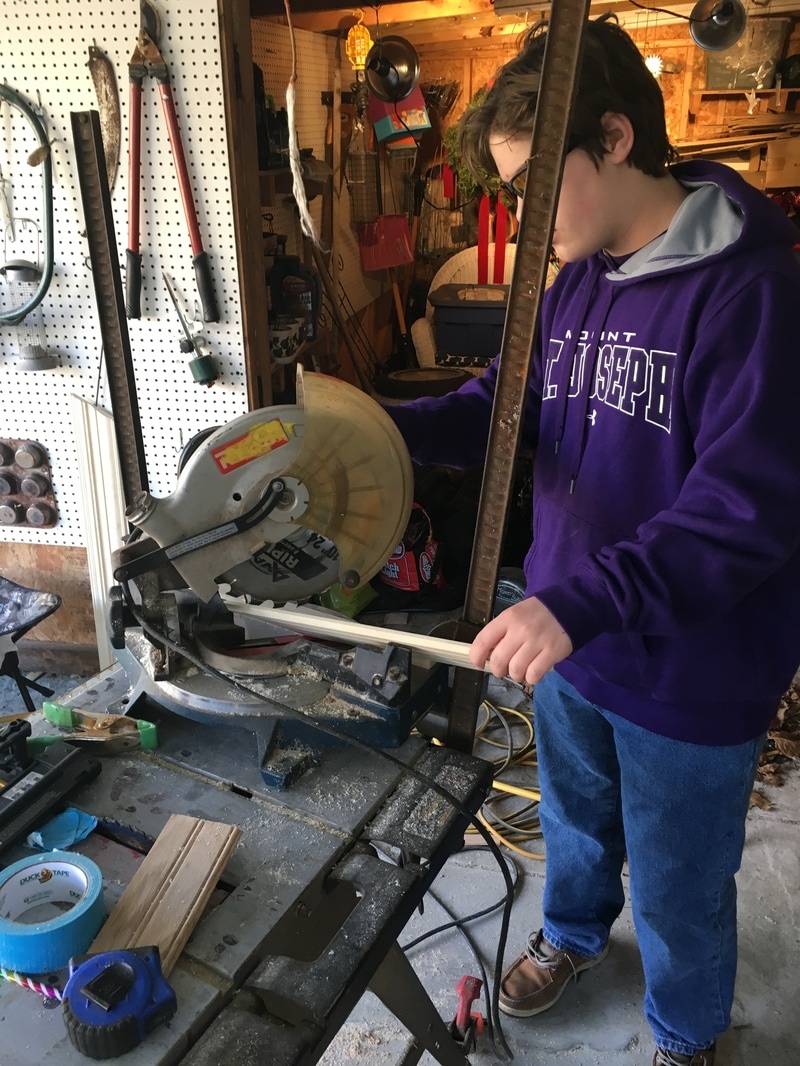
Step 3:Now that we have the front of the shelf’s molding done, we can cut the sides. Start but taking the piece of molding you have left and trim it so the 45 matches the front piece. Now all you will need to do is lineup the front piece with the side and cut off the excess from the back on the crown molding. Repeat the above step for the other side of the shelf Now the sidewall of your shelf is complete, you should be able to make a almost perfect 45 degree joint with the front of the shelf.
|
|
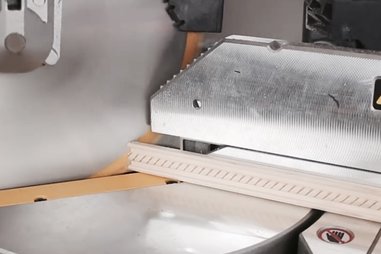
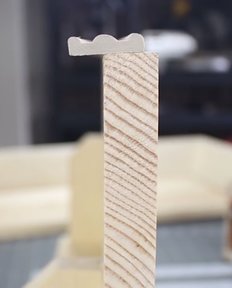
Step 4:Measure your decorative quarter round so it matches the front and sides of the 11 ¼” x 24 board you cut before and now cut the quarter round at a 45° angles so the front edges join together, and they wrap around the board. This is similar to what you did with the crown molding but much easier as the 45 is only one dimensional.
|
|
Step 5:Now it’s time to put the shelf together, it's a good idea to use wood glue in between all your connections, this will insure your shelf remains solid. Start by taking the 2 ½“ x 18” board and your two 6” x 2” boards. Have the flat side of the board flush, except for the underside, where it should be offset from the bottom, with the 1” angle cut point down. Drill a few pilot holes so you can add 2” wood screws to hold the pieces together. Now glue and screw the sides to the support bar, clamp this and let it sit overnight. This is very important as it will be your support bar when the shelf is mounted on the wall.
|
|
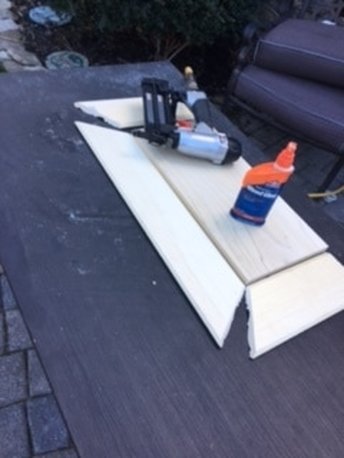
Step 6:Now it’s time to work on the bottom part of the shelf. Take the 11 ¼” x 24” piece and the (3) crown molding pieces and glue the bottoms of the crown molding and put them into place around the sides of the board. Next use the brad nail gun with finishing nails to bring the bottom together. Make sure you glue and nail the corner joints also, to help reinforce them.
|
|
Step 7:Next we’re going to start adding the trim around the top plank the 11 ¼” x 24 piece. Take the (3) decorative quarter round piece you cut and glue the trim so it hangs halfway off the bottom edge. Glue and nail the decorative quarter round to the top piece and let it sit overnight.
|
|
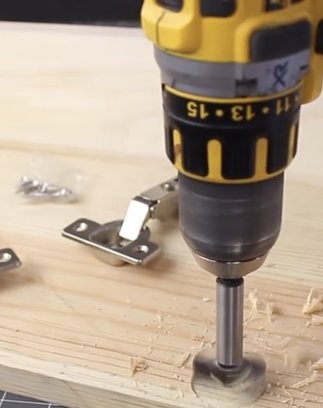
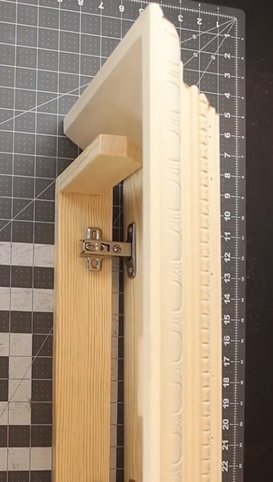
Step 8:Get your European Overlay hinges and loosen the adjustable screws, then slide it up to its longest length and re-tighten the screws. Use the template that comes with the hinges and center them 3-½” from both sides, and mark the center with a nail punch. Then use a 1-⅜“ flat bottom boring bit to drill out a hole just deep enough to press the hinges into place and screw them in make sure you check your depth or you will drill right through the top of your shelf.
|
|
Step 9:Line the bottom of the support bar and the bottom piece of your shelf so the hinges slightly overlap make sure that the bottom of the shelf fits into the top. Then use the top of the shelf to close the container shut, when you open it the two pieces should be lined up perfectly, after you adjust it screw the hinges into place.
|
|
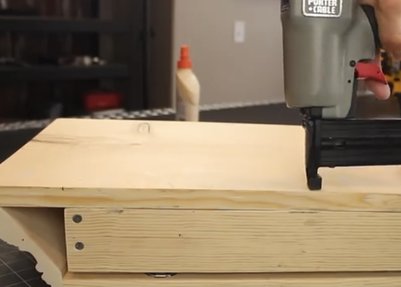
Step 10:Now attach the support bar to the top piece of the shelf with glue and brads along the back of the board, and where the support arms extend in the middle of the shelf. You will need to shoot a few brads through the top of the shelf to connect it to the support bars, you should only do 3 brads on each support bar so there are not too many holes in the top of your shelf (you will fix these later).
|
|
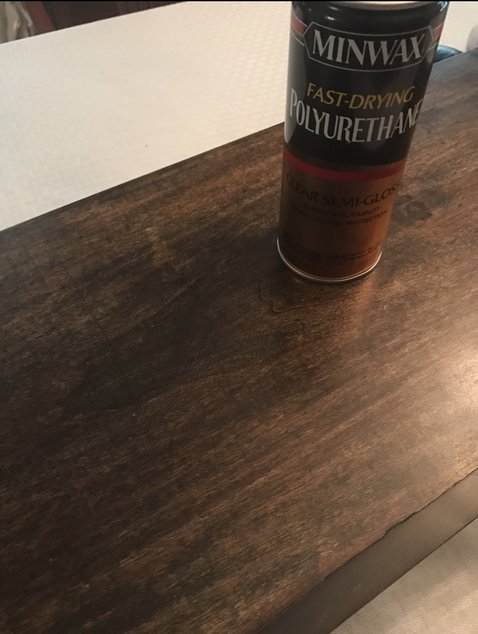
Step 11:You are now ready to stain the shelf, you will need to remove the hinges before finishing the shelf. The first step is to use a nail punch to sink all the brads below the surface so you can put wood putty over the holes. Now you will need to use a 180 grit sandpaper with your palm sander to clean up the shelf. Take your time on this step and re-putty any holes that you may find. Wipe the shelf down with a soft cloth and give it one final inspection make sure the wood looks good and is ready for staining. Make sure you stain is well shaken before you open it or you will get an uneven finish. Apply the stain with a sponge brush making sure to apply in the direction of the wood grain. Let the stain soak in for about 15 minutes before you wipe it down with a clean white cloth. At this point you need to inspect the shelf and determine if you are satisfied with the color and coverage of the stain. If you feel that you need to re-apply stain then do so as you did the first time. If you are satisfied with the stain then wait 24 hours before applying the spray on polyurethane. When spraying polyurethane it is very important to keep your spray can moving at all times and to apply it lightly, you can alway add more but you will have a hard time fixing a polyurethane run.
|
|
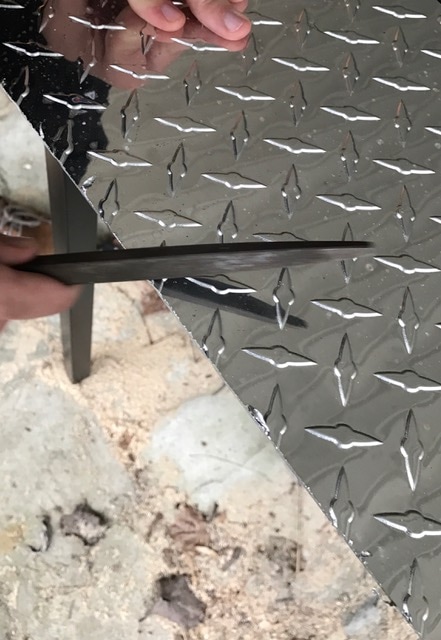
Step 12:You are in the home stretch now it’s time to bring it all together. Re-install the hinges and make sure that the shelf opens and closes as it did before you removed them, it not you may need to adjust the screw a little. Now you will need to cut the diamond cut steel to fit inside the hidden compartment this is not a requirement but it sure does look nice. Measure and cut the diamond cut steel to fit the inside of the shelf and then use liquid nail to glue it in place. Next you will need to add the hidden locks this is the secret sauce in this shelf…. Use the template provided with the magnetic safety locks to install the latch to the bottom of the shelf then you will need to eyeball where the magnetic latch goes on the top. If you are having a hard time with this you can put a dab of Liquid Nail on the top of the latch and close the shelf, this should leave a glue spot where you need to install the magnet. You will not be using the big key provided with the cabinet locks that would be too obvious you will be hiding the magnets in something no one would expect. I used a fake cactus and a candle that sit on top of the shelf to open it. They look like normal decorations until moved into the right position and then you can open the shelf as the unlock the magnetic locks.
|

|
Step 13:Now all you need to do is install the motion detector light and the chains to keep the shelf from hitting the wall. Cut two pieces of the jack chain to a length that will keep the shelf from hitting the wall when open and screw it into both the top and bottom of the shelf, test it and make adjustments as needed. The motion detection light will add more high tech to your shelf. All you will need to do is use the velcro provided with the light to install it on the inside top of the shelf and when the shelf is opened the light will come on.
|
